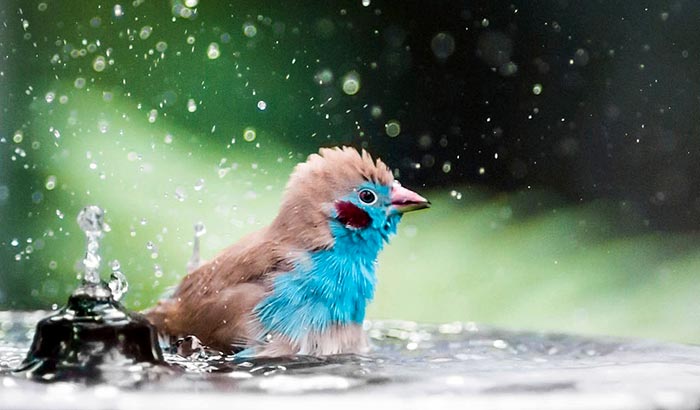
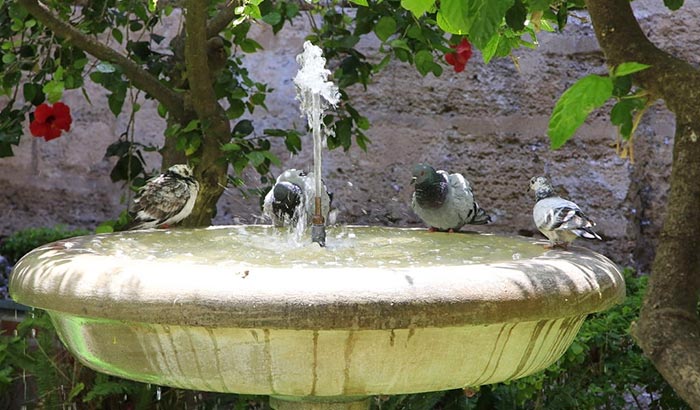
A bird bath is all good and well, but it can be better. Adding the simple element of moving water makes it so much better for birds and the surroundings. A bubbler is just one example of incorporating moving water into the bird bath. In this post, I will show you how to make a bird bath bubbler. I will give a complete guide on how I build a bird bath bubbler that will attract birds.
Contents
Materials Needed
Don’t limit yourself to the materials I use. There is definitely creative freedom when building a bird bath bubbler. However, since I want to incorporate the bubbler into the scenic view of my garden, I will use a few natural materials.
Round, 20-Gallon Tub
The tub will hold the water, and the entire bird bath bubbler, together. But if you already have a bird bath, then that will serve as your tub.
Vinyl Tube
The vinyl tube will serve as the highway for the water. It will help get the water flowing from the bottom of the bird bath to the top, where the water bubbles back down. Get a vinyl tube that is as long as the height of the bubbler you are planning to make. It should run from the bottom of the birdbath to the almost-top of the bubbler.
The vinyl tube should have a ¾ inch exterior diameter. Its interior diameter should be ½ inch. Most submersible water pumps suitable for bird bath use have output ports that fit into ½ inch tubes.
Water Pump
Since the bubbler needs a pumping mechanism to get the water flowing, you need a water pump. The pump has to be submersible because it will lay at the bottom of the bird bath.
In a bird bath bubbler scenario, the water has to turn or complete a cycle at least once every hour. So it is best to calculate the volume of the water then match that with the pump’s rating. If the volume of the bird bath is 20 gallons, for example, then the water pump should have a pumping rate of 20 gallons per hour.
However, since I want to create water bubbling noises around my bubbler, I can buy a pump with a higher rate, so the water moves faster. Creating a water-flowing noise and making the water move faster will help attract more birds. Birds see and hear the movement of the water; they are attracted by it.
Electrical Cord
An electrical cord is necessary if you want the water pump to function. It should be rated for external use because the bubbler is outdoors. Make sure that its length can cover the way from the bird bath bubbler to an outlet.
Stackable Rocks
This material is not strictly necessary. But I want my bird bath bubbler to look as natural as possible, so I will thread the vinyl tube through the rocks. The rocks will serve as the face or the cover of the bubbler.
Hammer Drill
Using a hammer drill is the fastest way to poke a hole through the stackable rocks that I will use. And because the size of the vinyl tube is ¾ inch thick, the drill bit should also be ¾ inch thick.
How to Make a Bird Bath Bubbler – Step by Step
Now that we’ve gathered all our materials let’s begin working on the actual bird bath bubbler.
Choose the Location of the Bird Bath Bubbler
The location of the bird bath bubbler depends on what types of birds you want to attract. Some birds are cautious and will not venture out into the open. They will prefer bird baths that are near or under the trees. Other birds will not mind having the bird bath in the middle of a yard.
Another aspect you have to keep in mind is how far the bath is from an outlet. The electrical cord should be able to run from the tub to an outlet.
Set Up the Water Pump
Lay the submersible water pump on the bottom of the tub or bird bath. Then use rocks to keep it upright. I also like to use stones to house the pump on three sides. The one open side is for accessibility if I need to get to the pump without dismantling the entire bubbler. Run its power cord towards the electrical cord. Lastly, insert the vinyl tube into the output cord of the pump.
Drill the Stackable Rocks
Drilling the stackable rocks is probably the most challenging part of this process. It is also optional. I’m only doing this to make the bubbler more aesthetically natural-looking. Use the hammer drill and a ¾ inch drill bit to poke the holes through the rocks.
Thread the Vinyl Tubes through the Rocks
Next, thread the vinyl tubes through the stackable rocks. Thread the tubes from the bottom, then work your way up. But don’t thread the vinyl tube all the way out of the rocks. It should rest about ½ to ¼ of an inch away from the exit on the rock. This way, the water will look like it’s coming from the rock, not from a tube.
Arrange the Rocks Naturally
Arrange the rocks aesthetically and naturally. I wanted to house the water pump in rocks so it would not be crushed by the stackable rocks through which the vinyl tube is threaded. If it helps, add more stones around the bubbler to make the bird bath look more natural.
Test the Bubbler and Enjoy
The last step is to test the functionality of your work. Fill the bird bath with water, then plug in the water pump. Turn the water pump on and enjoy your new, homemade bird bath bubbler.
Final Word
Birds are more attracted to moving water. They see the movement and hear the sound of the water. Adding a bubbler to your bird bath will increase its value to birds. Also, moving water is safer for the environment. The movement will discourage mosquitoes and other insects from breeding in the bath.
The step-by-step method I shared on how to make a bird bath bubbler is not exactly very easy. But it yields beautiful results that look natural and is easy to maintain.


