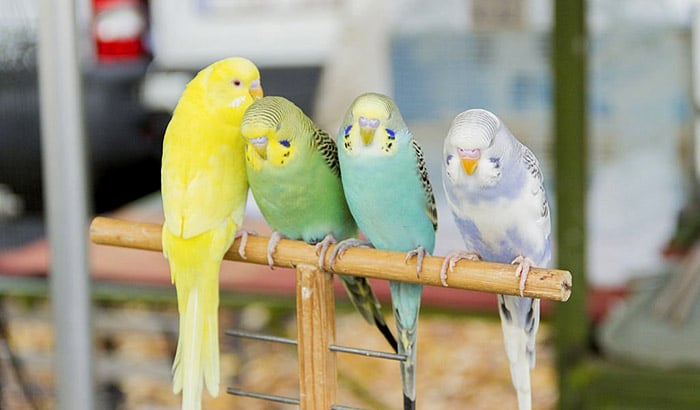
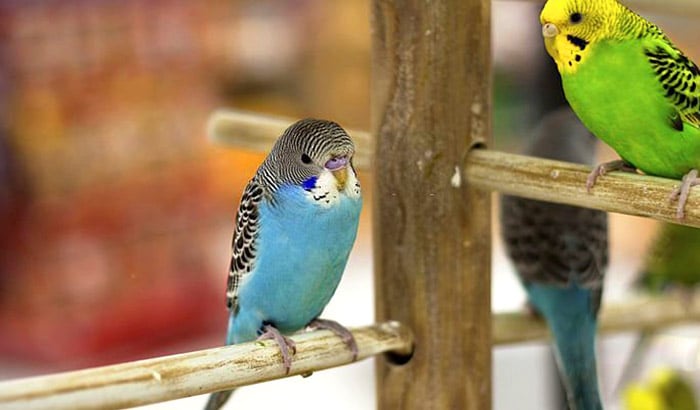
A perch is very important to birds because it brings many benefits to them. Birds use them for playing, standing, and climbing. Birds also use perch to rub and clean their beaks as well as for entertainment purposes.
But how to make a bird perch? Buying a commercial bird perch may not be economical, which means making your own a good idea. With that said, check this step-by-step guide to learn how to make your own natural bird perch.
Contents
How to Make a Bird Perch
What to Prepare:
- Pine Board (Size Depending on Preference)
- 2 pcs Dowels (For the Vertical and Horizontal Parts of the Perch)
- Miter Saw, Drill Press; Alternative: Regular Hand Saw and a Drill
- Forstner Bit; Alternative: Large Size Drill Bit
Step 1: Disinfecting the Wood
Before the actual making of the bird perch, you will need to disinfect the woods that you will be using. This step eliminates any possible bacteria, fungi, and microbes found in the wood. A wood that is disinfected will make the birds safe from possible sickness.
When disinfecting the wood, make sure to do it in a secluded place. This step will help in preventing the pests from living in your home. Use a 10% bleach solution to disinfect the woods.
After disinfecting, rinse the wood, including the dowel with water. Make sure that the bleach solution is removed. Let it dry naturally.
Step 2: Marking Vertical and Horizontal Dowel
Once the wood is ready, it is time to start the actual making process. The next step is to mark the vertical dowel first. When learning how to make a bird perch stand, the ideal measurement for a tabletop stand is 11 inches. This measurement is long enough for parrots such as parakeets, cockatiels, macaws, conures, and many more.
For the horizontal dowel, the ideal width is 10 inches which are also perfect for these birds. Use a pencil to mark the place where you will be cutting the dowel. The marking must be clear to avoid any mistakes during the cutting process.
Step 3: Cutting the Vertical and Horizontal Dowels
Once the dowels are already marked, proceed to cut them one at a time. Use the miter saw to cut each of them if you have one. If you do not have a miter saw in your home, you can use the regular hand saw to cut the two dowels.
Cutting the dowels is easy because the design of this perch is so simple. You can even estimate the measurement based on the birds that you own. But make sure that the cut is precise and fits the bird’s requirements.
Step 4: Marking the Cutting Base
The next step is to mark the base of your perch for drilling. Get the pine board to start marking where you will cut it. The ideal size is 13 inches which are slightly wider than the horizontal dowel or the perched that we are making.
Once the pine board is marked, you can cut it in a miter saw if you have one or use a regular hand saw if that is available.
Step 5: Marking and Drilling the Center of the Base and Dowel
The next step is to mark the center of the base using a pencil. Once the center is marked, you can now drill a hole at the center of the base, which should be the same diameter as the diameter of the dowel.
You can use a drill press to do the job, or if you do not have one, you can use a regular hand drill. Once the hole is made in the center of the base, the next step is to drill a hole at the center of the horizontal dowel. Again, the diameter should be the same so that the vertical dowel can easily fit in.
Using a V-shaped slid in the drill press will be much easier. But, if you do not have one, you can use a regular drill as an alternative.
Step 6: Parts Assembly
The next step is to assemble all the parts by connecting the base, horizontal dowel, and vertical dowel. Use high-quality glue to bond all the parts. It is recommended to use wax paper to cover the base and eliminate mess during the assembly.
Use a healthy amount of glue on each dowel. Start by putting glue at the end of the vertical dowel. Then, please put it in the hole at the center of the base. Put the glue inside the hole of the horizontal dowel before inserting it into the vertical dowel. Let the glue dry for 24 hours to maximize the result.
Step 7: Finishing Touches
Once everything is dried up, you can clean the whole perch as preparation for the usage of the birds. You can have the option put furniture pads at the bottom of the base to make it more balance before the birds use it. Once it is ready, let the birds use the new perch.
Conclusion
Learning how to make a bird perch is an excellent skill if you have several birds as pets. Buying ready-made or commercial perches can be expensive, so the next best step is to make a perch on your own. The method we presented is easy and uses simple and affordable materials. If you want to learn how to make a wren birdhouse, we also have a step by step guidelines for it.


