Did you know that you don’t need to keep coming back to the store to buy hummingbird food because you can create it? That’s right! You can create the perfect sweet hummingbird nectar recipe in your kitchen! This post will teach you how to make hummingbird food using a microwave. I will show you the simple, step-by-step process that will ensure the little birds will return to your garden again and again. All you would need are pure cane sugar, water, and a microwave-safe container.
Let’s begin!
Contents
Make Hummingbird Food Using Microwave
Making hummingbird food is simple; it is just a nectar recipe with two ingredients. Here is everything you will need for the project:
Food Ingredients
- Four cups of water
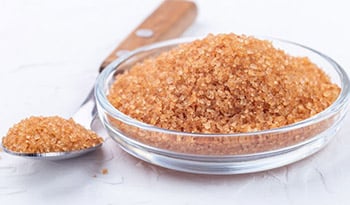
- One cup pure cane coarse or granulated white sugar
The amount of water or sugar you use does not necessarily have to be four cups and one cup, respectively. It will work fine as long as the ratio is four parts water to one part sugar.
You should not feed hummingbirds raw, organic, turbinado, or even brown sugar because those substances are harmful. Of the types of sugar, white granulated sugar is the closest to the sugar found in nectarines – a hummingbird’s natural food source. Beet sugar is also acceptable, but white sugar is preferable. Confectioner’s sugar is a big NO since it contains an anti-caking agent that hummingbirds don’t need.
Some guides might teach you to use dye or food coloring for your homemade hummingbird food. They would suggest getting red food coloring because hummingbirds are attracted to red. Though they are indeed attracted to red, I strongly advise against using food coloring.
Food coloring may have harmful ingredients like inorganic pigments, metallic compounds, and synthetic coal-tar substances. If you want to attract hummingbirds, it’s best to use a red feeder instead. This brings us to the materials you will need for the project.
Materials Needed
- Microwave-safe container (like a Pyrex container)
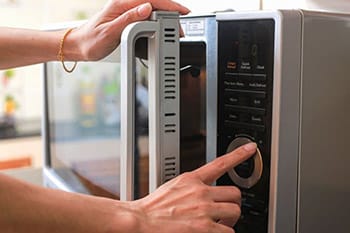
- Microwave oven
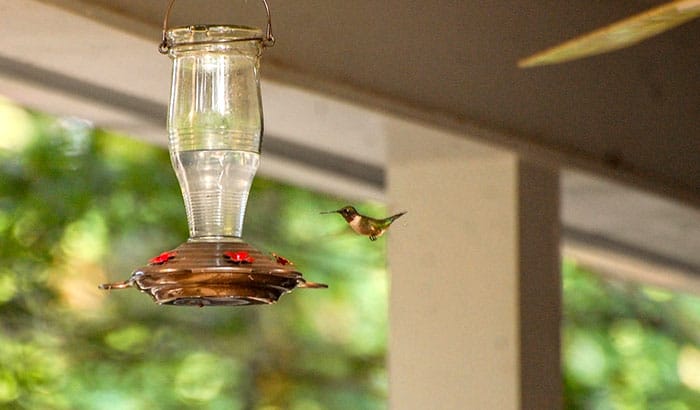
- Hummingbird feeder
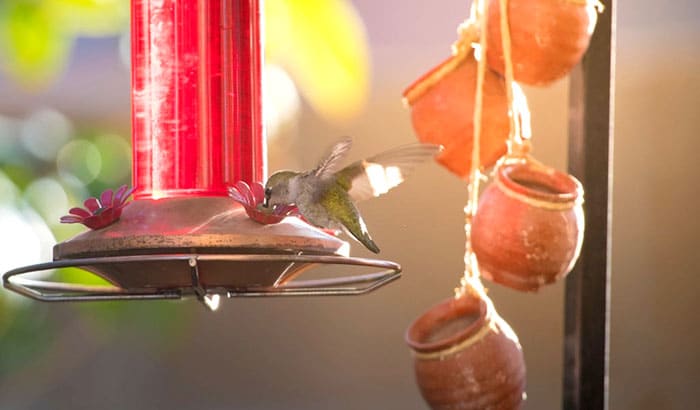
The feeder should be able to accommodate liquid. If the feeder is tinted red, it will attract more hummers.
Step 1: Measure and Mix the Right Ratio of Water to Sugar
Though I listed four cups of water and one cup of cane white granulated sugar, you don’t have to follow those numbers strictly. As long as you get four parts water for every one part sugar, you are doing alright. Four for every one is the perfect ratio of water to sugar to get the best nectarine solution.
If your feeder can hold five cups of liquid, then four cups of water and a cup of sugar is just the perfect combination for you. If your feeder can contain more, you can scale the ratio accordingly.
Step 2: Heat the Solution
Pour the mixture into a microwave-safe container that can contain the entire solution. Then, heat the mixture in a microwave until the sugar dissolves. Some guides will say that you have to boil the water to get the sugar to dissolve. The principle behind that kind of reasoning is not entirely faulty, but it is not perfect.
Even if you don’t bring the water to a boil, you can still dissolve the sugar. Science dictates that as long as the water molecules move against the sugar molecules, the sugar molecules will break down sooner or later. And as you heat the water, its molecules become agitated and move more, dissolving the sugar. Even if you stir the water vigorously, it gets agitated enough to dissolve the sugar.
The problem with boiling the water is that part of it evaporates. And when it evaporates, the ratio between water and sugar becomes inaccurate because sugar does not evaporate.
In short, it is best to heat the water just until it is warm. And if the sugar does not dissolve by then, just stir the water. This way is the best to maintain the proper ratio in the water and sugar mixture.
Don’t heat the mixture to 212 degrees Fahrenheit (100 degrees celsius) if you don’t want it to boil.
Step 3: Let the Solution Cool
Let the heated mixture cool by leaving it somewhere at room temperature or putting it in the fridge. The ratio between water and sugar does not make the solution too concentrated for sugar lumps to form, so you shouldn’t worry about the sugar crystallizing again.
However, do not leave the solution exposed for too long because it attracts ants.
Step 4: Pour the Solution into the Hummingbird Feeder
Carefully pour the sweet hummingbird nectar food into the feeder. If you spill the liquid, wipe it immediately to avoid dealing with ants.
Step 5: Place the Feeder Somewhere Shaded
It is best to place the feeder somewhere shaded to prevent the water from evaporating or spoiling. Sugar water spoils faster when exposed to heat. So, if you want to preserve the mixture for long, keep it shaded somewhere as cool as you can place it.
How Often Should You Change Hummingbird Food?
If you live somewhere with a warm climate, it is best to change the hummingbird food every couple of days. Changing the nectar at least once a week is fine in colder places.
Signs that the sugar water is spoiling include:
- Cloudy or milky discoloration
- Specks or strings of black or white structures form in the solution
- Strong, pervasive odor can be excessively sweet, moldy, or sour
- Mold and fungus growing in the solution
- Sticky or crystallized residue forms around the feeder
If any of these symptoms are present around the hummingbird feeder, it is best to replace the hummingbird food.
Conclusion
Now you know how to make hummingbird food using a microwave. It is simple and straightforward. With just a couple of ingredients and a few materials, you can make sweet nectar instead of buying it from a store for a marked-up price. You can save a few bucks if you opt to make hummingbird food instead of buying it. So get your sugar, water, container, and microwave out and make food for the little birds.


